Advertisements
So here’s the thing – I spent my first 20 hours in Starfield flying around in what I thought was a “pretty decent” ship, only to get absolutely demolished by some random pirates near the Cheyenne system. That’s when I realized I had no clue what I was doing with ship customization! If you’ve ever stared at the ship builder interface feeling totally lost, trust me, you’re not alone.
Building the perfect ship in Starfield isn’t just about slapping on the biggest guns you can find. It’s about balance, understanding ship components, and knowing what kind of space captain you want to be.
Understanding the Basics of Ship Building
Before we dive into specific builds, let me save you from my biggest rookie mistake. I didn’t realize that your ship’s reactor determines literally everything else you can do. The reactor power is like your ship’s budget – every module, weapon, and grav drive needs juice to run.
When you’re at a ship services technician, you’ll see different categories: structure, weapons, engines, shields, and cargo. Each part has a mass value and power requirement. Your mobility suffers if you’re too heavy, and nothing works if you don’t have enough reactor power!
The Three Main Build Philosophies
After countless hours and way too many credits spent on failed experiments, I’ve found that most successful builds fall into three categories. Combat-focused builds prioritize weapons and shields. Cargo haulers maximize storage for trading runs. Explorer ships balance everything for long-range travel and resource gathering.
My Go-To Combat Build for Bounty Hunting
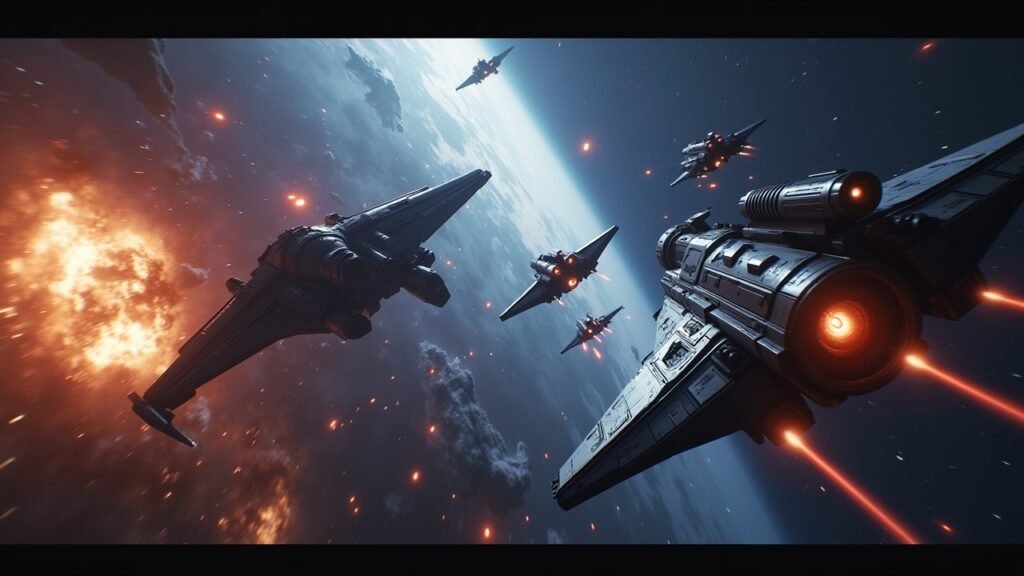
Okay, so this build turned my entire Starfield experience around! I call it the “Punisher” because it absolutely wrecks enemy ships while staying mobile enough to dodge incoming fire.
Start with a Class B reactor – the Nova Galactic Pinpoint 5×5 is solid and won’t break the bank. For weapons, I run three particle beam turrets on top and two missile launchers on the sides. The particle beams are insane against shields, and once those are down, the missiles tear through hulls like paper.
Your shield generator matters more than you’d think. I learned this the hard way during a mission where I got jumped by four ships at once. The Assurance SG-1800 shield has saved my butt more times than I can count. Don’t skimp here!
For engines, the SAL-6830 gives you enough speed to reposition during fights. You want at least 140 mobility rating, or you’ll feel like you’re flying a space brick. Add a couple of white dwarf engine modules to boost your speed without eating too much power.
The Hauler Build for Maximum Credits

Listen, combat is cool and all, but sometimes you just wanna make money, right? This cargo ship design has earned me over 500,000 credits in a single trade run between Akila City and Neon.
You’ll want to focus on cargo capacity modules – stack as many as your reactor can handle. The Cargohold-Shielded options protect your goods from scan detection, which is clutch when you’re carrying “questionable” items. I may have learned that lesson after losing 50,000 credits worth of Aurora to confiscation.
The trick with hauler builds is balancing mass with grav drive jump range. A high jump range lets you make fewer stops, saving tons of time. The Apollo GV300 grav drive gives you crazy range without requiring a massive reactor upgrade.
Check Out This Visual Guide
If you’re more of a visual learner like me, this YouTube tutorial breaks down ship building mechanics way better than I ever could. The creator shows actual gameplay footage of different configurations in action, which helped me understand power distribution way better than just reading about it.
Advanced Tips That Nobody Tells You
Here’s something that blew my mind – you can assign different power levels to ship systems during combat! By default, everything runs balanced, but hitting that power allocation menu mid-fight lets you boost weapons when attacking or pump everything into engines when you need to bail.
Another thing: symmetry isn’t just aesthetic. Ships with unbalanced weapon placement actually handle differently, and not in a good way. I once built this monstrosity with all weapons on one side thinking I’d be clever, and it flew like a drunk space cow.
The landing bay placement affects how your ship looks in third-person view, but more importantly, it determines where you board. Put it somewhere that makes sense for quick entry during those missions where you’re getting shot at on the landing pad!
Ready to Build Your Dream Ship?
Look, building ships in Starfield is part science, part art, and honestly part lucky experimentation. Don’t be afraid to try weird combinations – some of my best designs came from accidents or “what if” moments. Save up those credits, visit different ship technicians across the Settled Systems, and remember that you can always modify your build later.
The most important thing? Make sure your build matches your playstyle. There’s no “perfect” ship, only the perfect ship for how you explore the galaxy. Whether you’re hunting bounties, running cargo, or just exploring every corner of space, build something that makes you excited to launch into the black.
Want more gaming tips and deep dives into the latest releases? Head over to Glitch Lane where we’re constantly posting guides, reviews, and honest takes on everything gaming. Trust me, there’s way more where this came from!


